Yes, I know Mother’s Day in the U.S. was on Sunday, but I didn’t quite have the time to write this post up before now.
My mom lives 2,000 miles away from me, and isn’t one for large celebrations or gifts in general, but I did want to send her a card for Mother’s Day, and what says “thanks, mom, for helping me become a well-adjusted thirty-something” better than ripping off a child’s craft project? Not much, that’s for sure.
I’d seen this project on Pinterest, I think, and thought it’d be easy enough to do myself, and it would be fun and cheesy and my mom would get a kick out of it, and I was right on all counts. So here’s how I made my Mother’s Day card.
Step 1: Convince yourself you’re never too old to trace your hand on paper and cut it out for some sort of craft project.
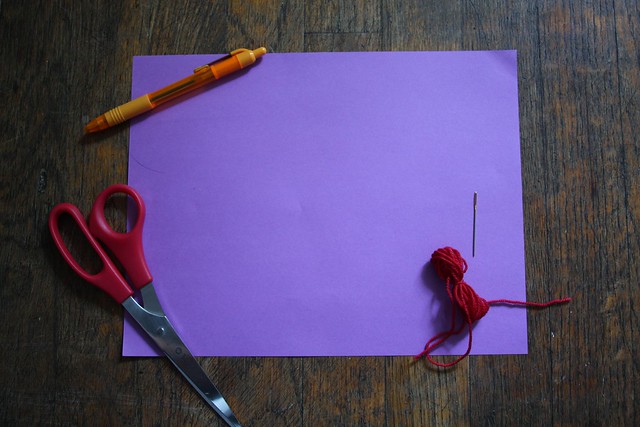
Step 2: Assemble the components. For this card, I used a piece of purple paper (plain, printer-style paper—you could use card stock if you want something a little more sturdy), a pen (orange—it was the only one I could find at the time), scissors, a sharp yarn needle, and red yarn (leftover from my Amy Pond scarf).
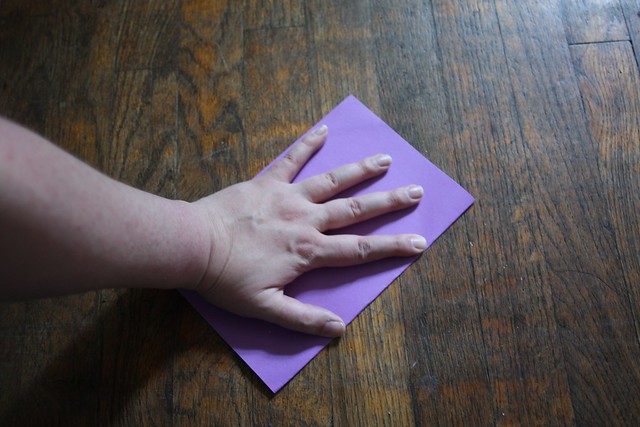
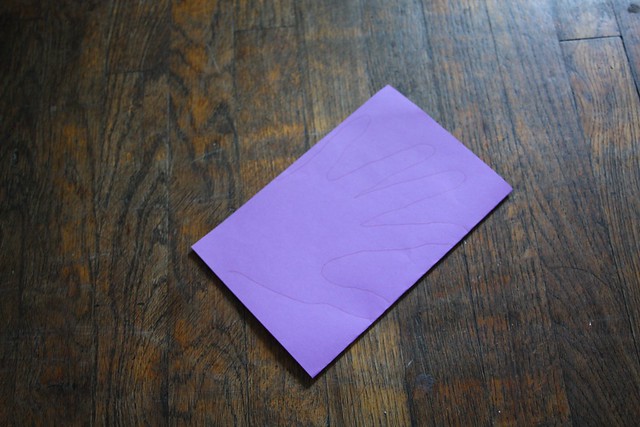
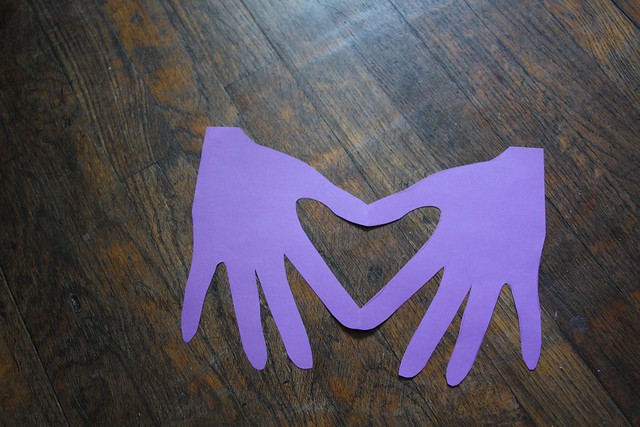
Step 3: Trace your hand on the paper. Use a pen that isn’t filled with orange ink, or do this in better lighting. (Also, don’t wait until the last minute to make a card for your mother, she deserves better.) You want your thumb and forefinger to overlap the fold just a bit, so that the card will open and not separate.
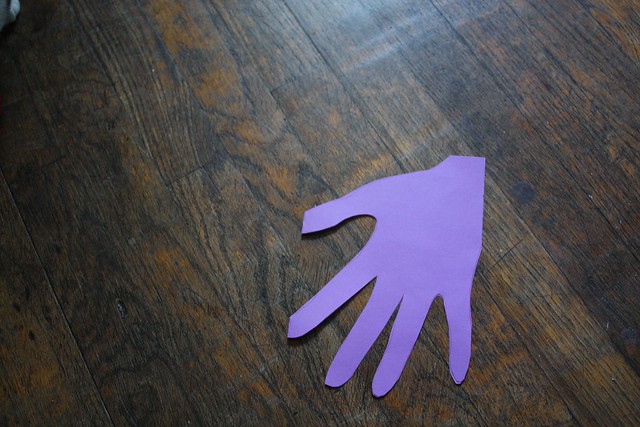
Step 4: Cut the hand out, being careful not to slice off your paper fingers as you’re trying to turn corners.
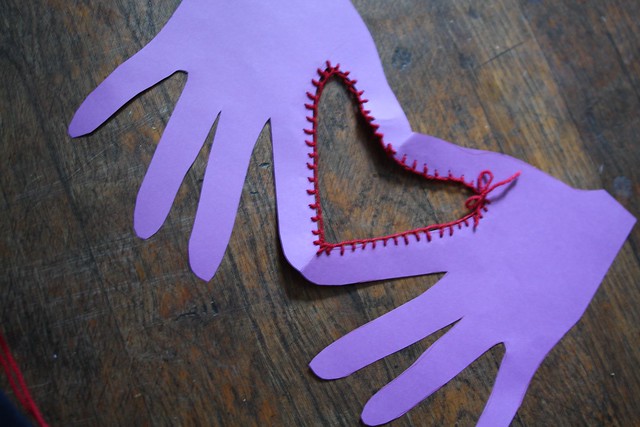
Look! It’s a heart when the card is opened! So cheesy!
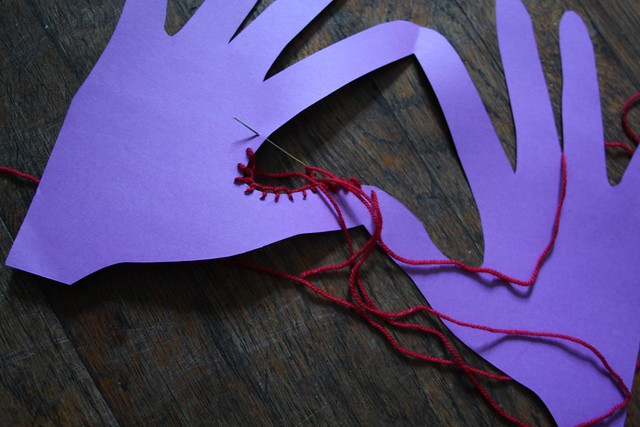
Step 5: To better illustrate the heart, and to use up a smidgen of yarn, I edged the heart with a blanket stitch. If you’re not sure how to blanket stitch, I made a quick little tutorial. Your first step, shown here, is to bring the needle up from behind the paper (if you opted to use a heavier paper, you may want to pre-pierce holes around the heart).
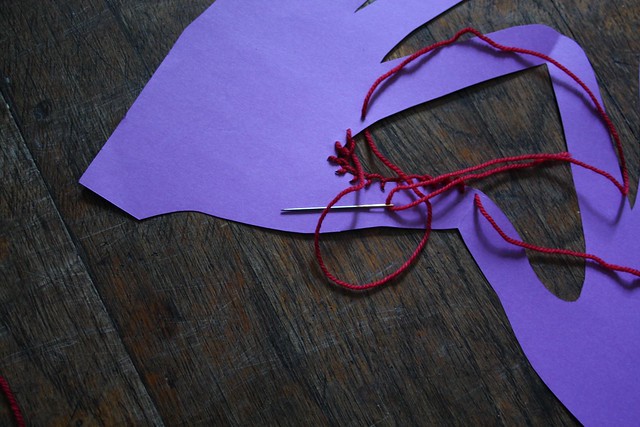
Bring the yarn up through the hole, but don’t pull it taut right away—you’re going to need a little bit of a loop.
Pass the needle and attached yarn through and then under the loop.
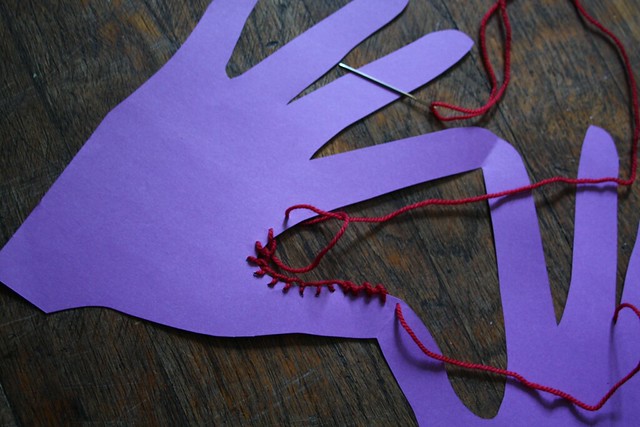
Pull the yarn taught and make sure it doesn’t not on itself (or tear the paper). You’ll want to pull the thread away from you to help the yarn lie properly.
Step 6: Send this cheesy card to your mom and await her phone call, telling you she’s hung it on the refrigerator (you know, with those pictures of you from pre-school “graduation” and those magnets in the shapes of states). Allow your inner child a moment of exuberance and joy.
Happy belated mother’s day to all of my friends who are mothers, whether your children be of the two-legged or furry variety.



That’s such a cute card!
Thank you! 🙂
A-freaking-dorable. Love it!
<—is a nerd.
Yeah, it’s a bit cheesy, but so cute! I’m sure your mom loved it.
She did seem to, and that was the whole point. 🙂
So cute.
Going to get my kids to make those for grandma – not sure if I can get myself past step one otherwise!! 🙂
Yup. Making 4 of those this afternoon. Oooo! And 4 for the other grandma, too!
always get past step one if you can! Life’s too short to be taken too seriously. Plus, as the adult, you can imbibe if you choose to help make it more fun. 😉